
因為 Microsoft 把他們的軟體授權搞得很複雜,所以我只是大概的整理一下。內容可能不是完全正確,如有錯誤再請指正。
買了一台 Sapido BRF71N 多功能無線分享器來當無線 AP 使用,發現檔案傳輸速度很不理想,只有 5MB/s 上下的速度在跑,查看 WIFI 的連線速度只有 72.2Mbps:
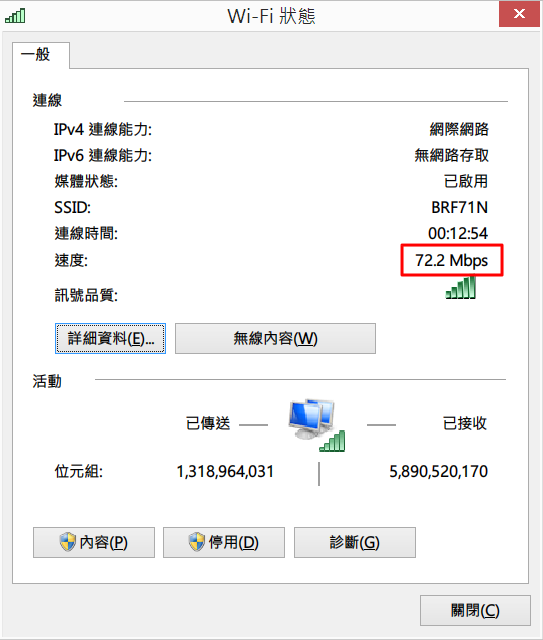
直覺不是買到暇疵品,就是它的設定有問題!!
「字型」是網頁中一個非常重要的元素,美的字型讓你上天堂,醜的字型讓你想打爆螢幕 (有那麼嚴重嗎)!!
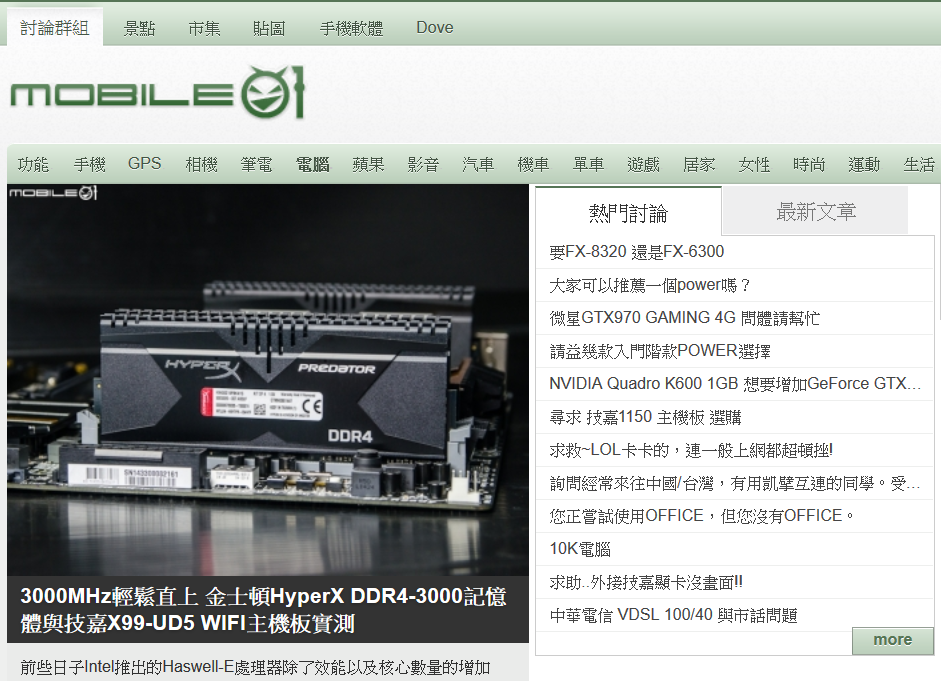
本篇我會介紹 Firefox 瀏覽器的網頁字型美化的方法。我們先來看一下網頁在「微整形」前後的照片...
美化前:
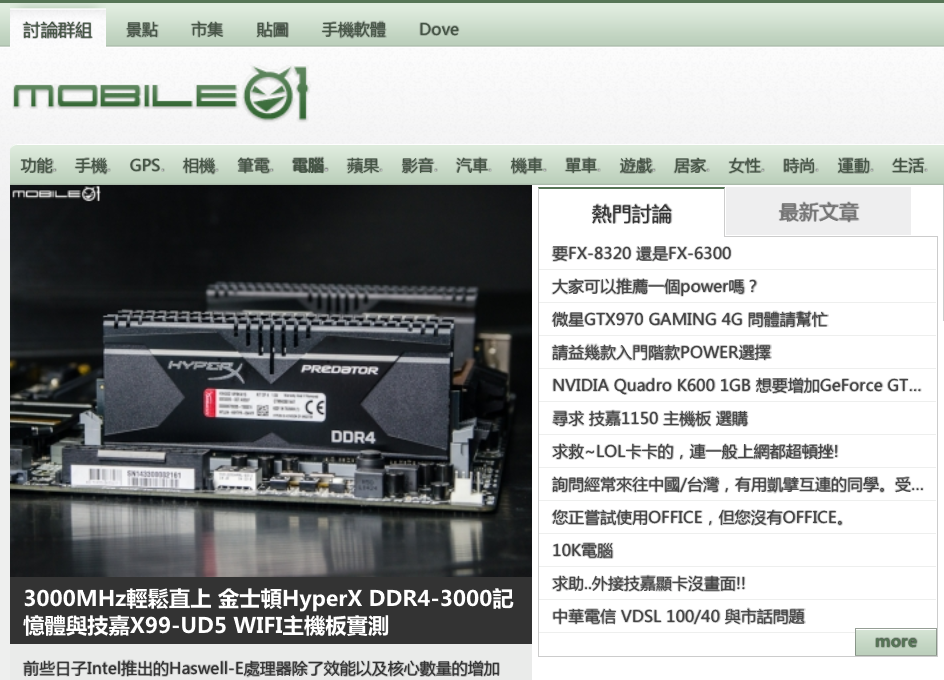
美化後:
以下資料是收集自各大網站、Wiki,資料可能不是百分之百正確,歡迎提供修正資料。
| 通訊技術 | 理論最高速度 (bps, 下載/上傳) | 常見速度 (bps) |
|---|---|---|
| 2G/GSM | 14.4K | 9.6K |
| 2.5G/GPRS | 171.2K | 40K |
| 2.75G/EDGE | 384K | 65K |
| 3G/WCDMA | 3.6M/384K | 2M |
| 3.5G/HSDPA | 14.4M/384K | 7.2M |
| 3.75G/HSUPA | 14.4M/5.76M | 7.2M |
| 3.75G/HSPA+ | 86M/23M | 21M/11.5M |
| 3.9G/LTE | 150M/75M | 50M/25M |
| 4G/LTE-Advanced | 300M/150M | 100M/50M |
| 802.16e/WiMAX | 128M/56M | 4M/1M |
在 Linode VPS 佈署的 CentOS 6.x 已經沒有 nslookup 這個工具程式了!!
以下將藉由安裝 nslookup 的同時,順便也復習一下 yum 的查詢套件功能...